-
Patio Pavers
By Material By Surface FinishThere are many types of natural stone available, so it is important to choose the right natural stone for you. Natural Paving's stone has been tested by a lab in the US and has far surpassed all ASTM requirements for paver material. Find out more...Tests include:
SI (Compressive Strength ASTM C140-15). The is the amount of pressure per square inch that may be applied before the stone breaks
Absorption Rate (ASTM C140-15). A low absorption rate is crucial to prevent stone holding onto water, especially in colder climates where high water content can result in the stone cracking
Coefficient of Friction Rate (ASTM C140-15). This is the slip resistance rating o the stone to ensure if is safe for use outside
Furthermore, all products from Natural Paving are CE marked to ensure they meet with strict EU regulations that were introduced in 2013. European standards EN1341 (flagstones), EN1342 (pavers) and EN1343 (kerbs) specify the requirements and test methods for each of these. The CE testing covers areas similar to ASTM including water absorbency, flexural strength and frost resistance.
All natural stone products have been tested to show the various properties of each stone and how it is likely to react under different circumstances.
-
Explore the Collections
Classicstone™ Collection
-
 Golden Fossil Natural sandstone with a light color blend of cream, buff, pink and gray with occasional fossil imprints
 -
 Harvest Natural sandstone with a warm blend of brown, camel and cooler gray contrasting tones
 -
 Promenade Natural sandstone in mainly light gray color tones with subtle mix of darker shades with occasional buff banding
 -
 Lakeland Natural sandstone with a selection of cool, understated tones of brown, khaki, lilac and gray
 -
 Graphite Natural sandstone with a selection of dark, charcoal gray tones accompanied by brown and buff swathes
 -
 Charcoal Natural limestone in a rich dark matt gray that gradually lightens in sunlight to a mix of mid-gray tones
 -
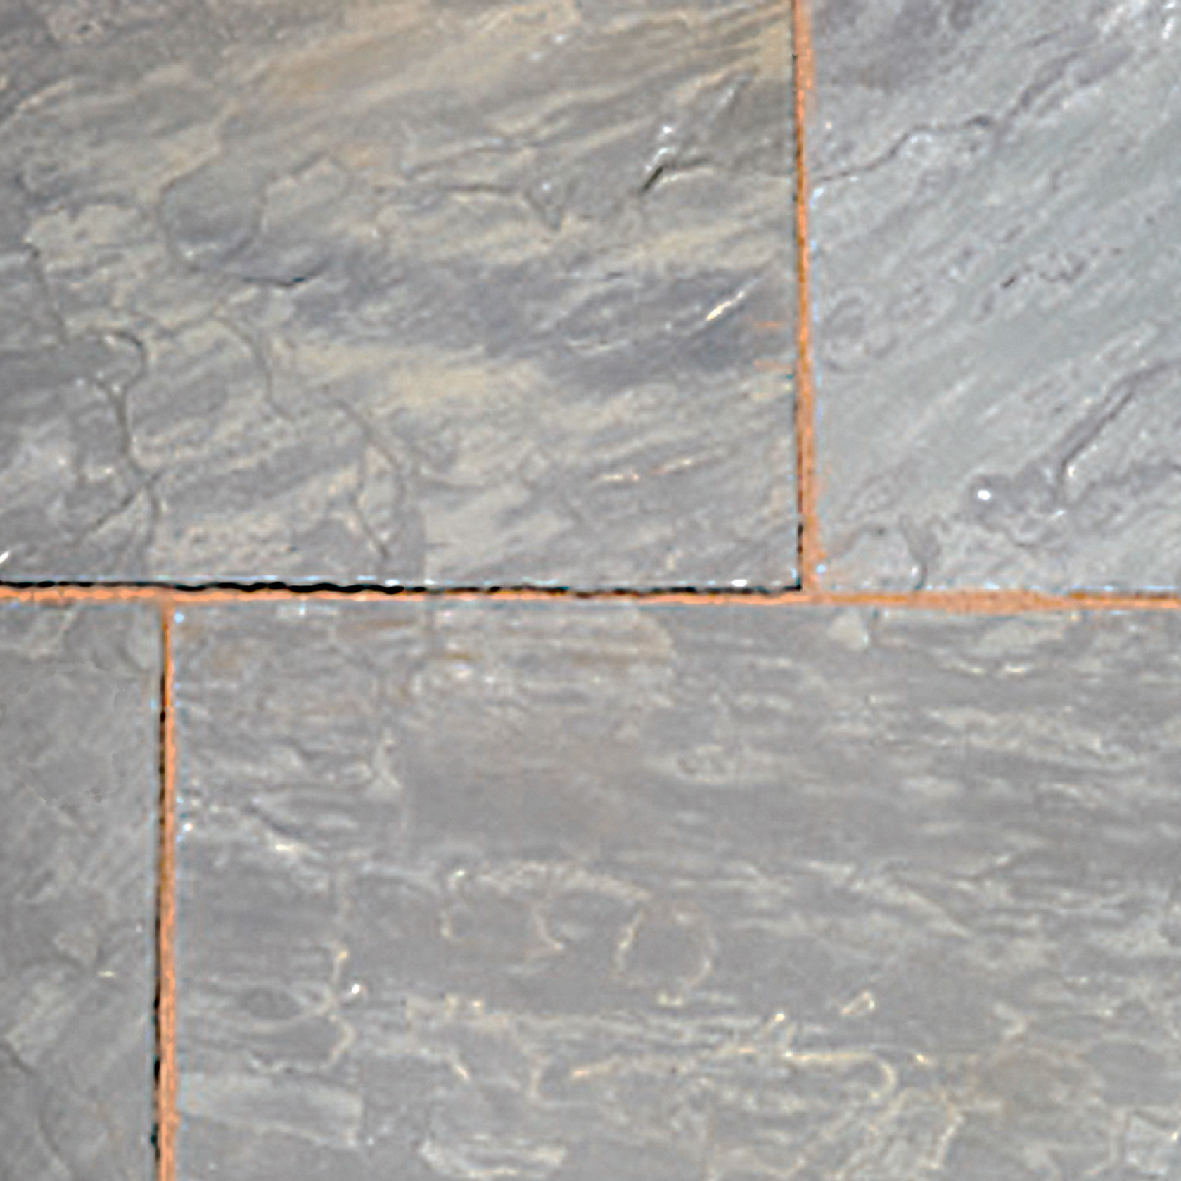
 Steel Blue Natural limestone in a cool blue-gray color mix with occasional copper banding
De Terra™ Collection-
 Harvest Path and driveway pavers in natural sandstone with a warm blend of brown, camel and cooler gray contrasting tones
 -
 Promenade Path and driveway pavers in natural sandstone in mainly light gray color tones with subtle mix of darker shades with occasional buff banding.
 -
 Lakeland Path and driveway pavers in natural sandstone with a selection of cool, understated tones of brown, khaki, lilac and gray.
 -
 Charcoal Driveway pavers in natural limestone in a rich dark matt gray that gradually lightens in sunlight to a mix of mid-gray tones.
 -
 Sahara Pathway pavers in natural limestone in buttermilk and matt gray shades with occasional burnt copper tones.
-
- Driveway Pavers
- Wall Blocks
- Pool Coping & Steps
- Features
- Inspiration Center Get Ideas and shop the look
- Sale
-
Change Country


You have no items in your shopping cart.


How do I use Pavetuf Jointing Compound?
Pavetuf Joint Compound Benefits
Pavetuf Jointing Compound makes light work of finishing your paving project with a stylish joint between the flagstones. Not only does it give a great appearance, it is also easy to use, long-lasting and comes in two complimentary color options. Features include:
- Can be used in wet and dry conditions
- Suitable for use with paving joints as narrow as 1/8" and as shallow as 3/4"
- Jointed areas can be walked on after just 18-24 hours
- If stored under water, can be re-used
- Easy to apply, durable and eco-friendly
- Simple and quick to use
- One person job
- Suitable for DIY and trade professionals
How to Use Pavetuf Jointing Compound
Pavetuf Jointing Compound is a quick and simple way to securely joint your new paved area and can be used with our Vitripiazza(TM), Classicstone(TM) and Premiastone(TM) paving ranges.
Preparation
Pavetuf Jointing Compound is suitable for for use with most paving types, apart from block paving for driveway use. Some paving can be prone to staining, so ensure a small area is tested first to be certain your paving does not discolor.
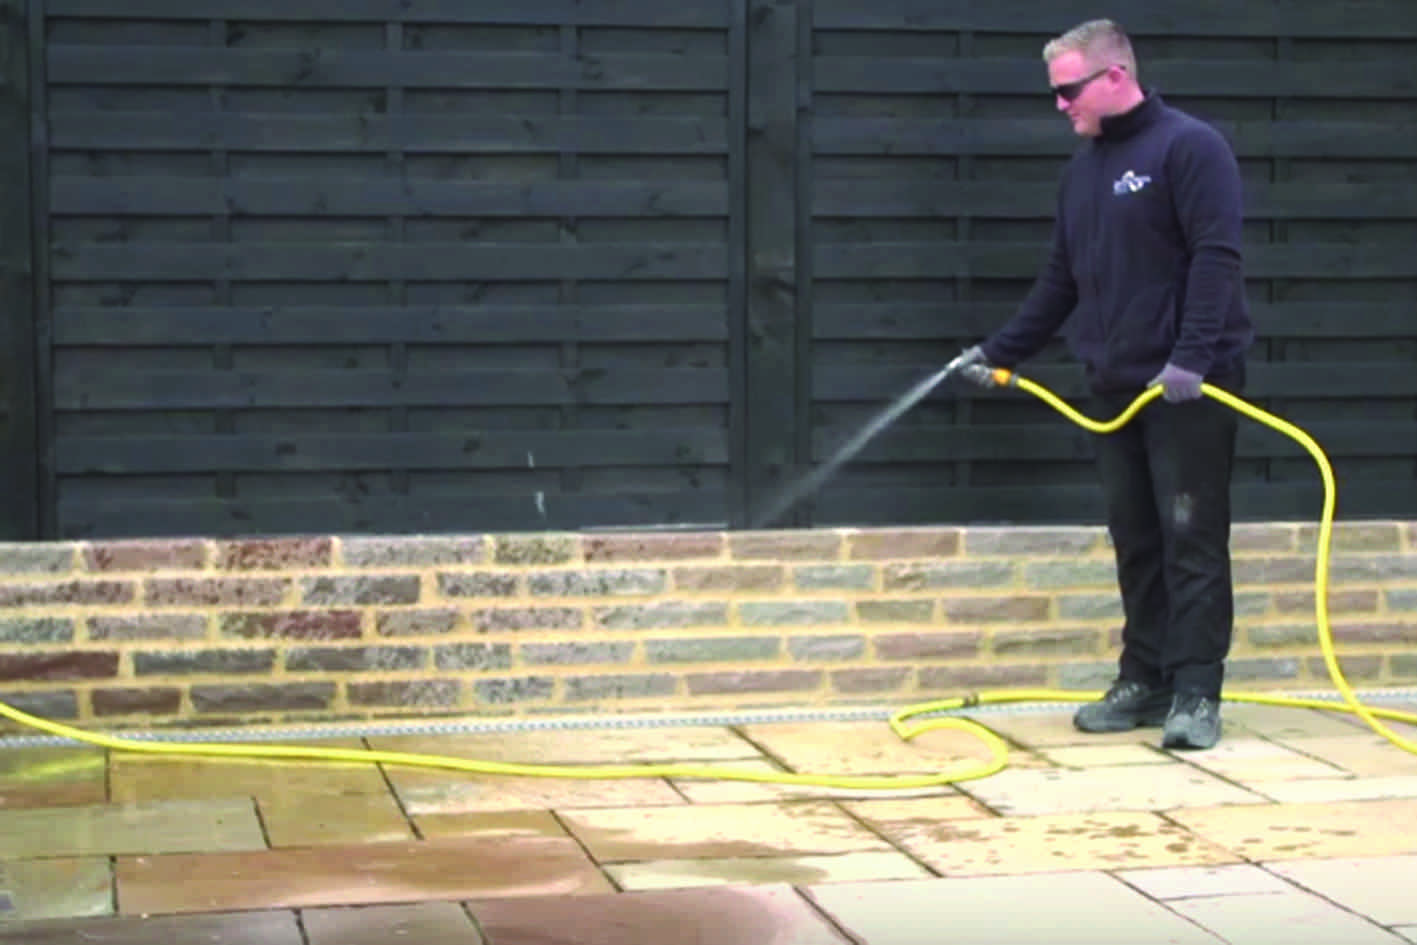
Step 1
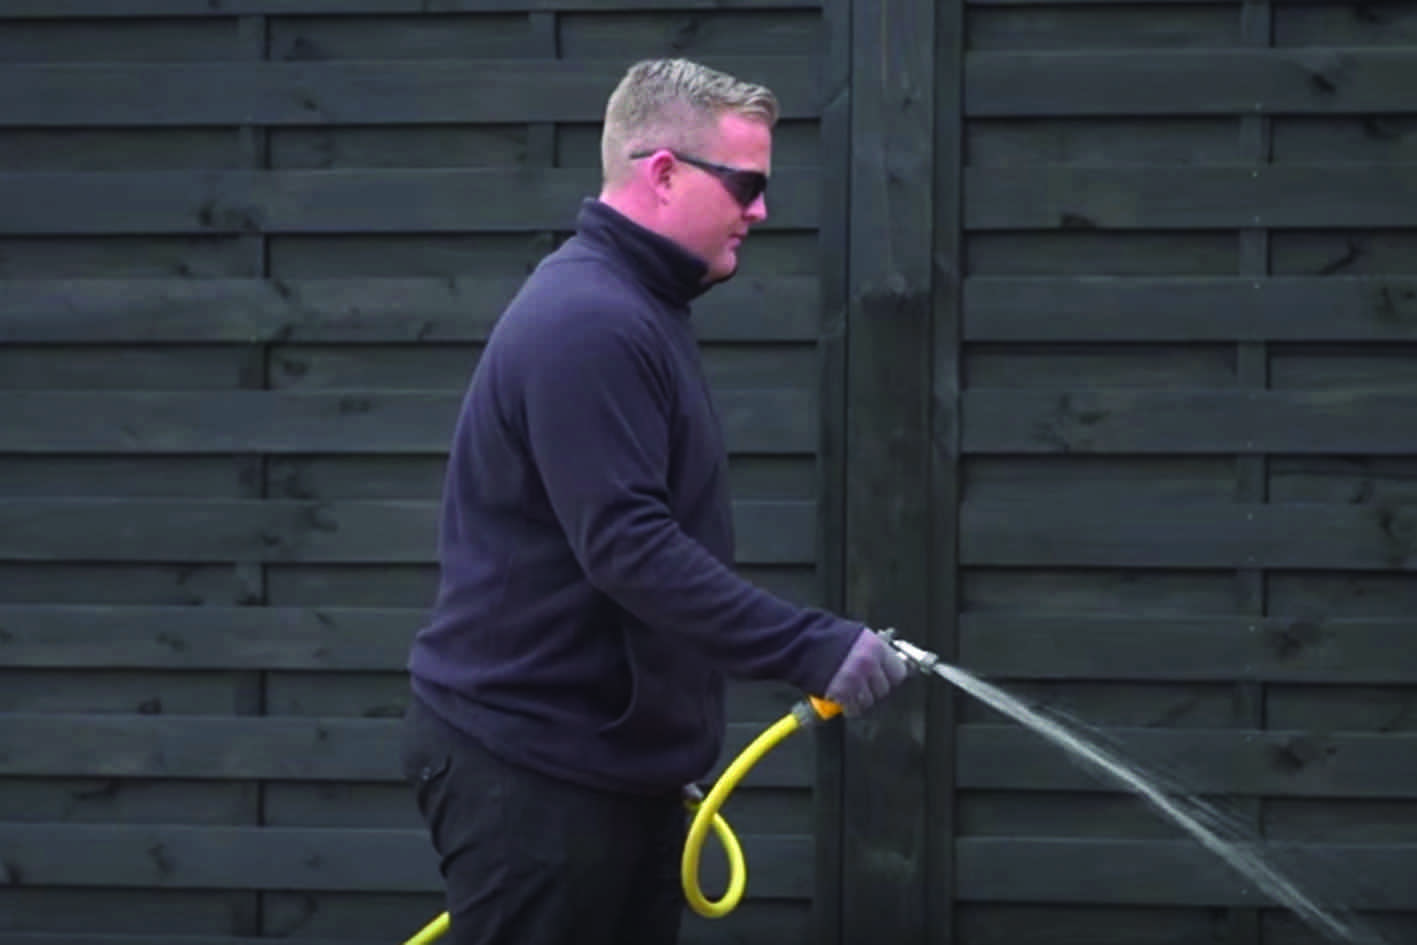
Thoroughly pre-soak the area before application. The more water used, the better result. This also ensures the compound does not start to dry on the paving before you are ready for it to set.
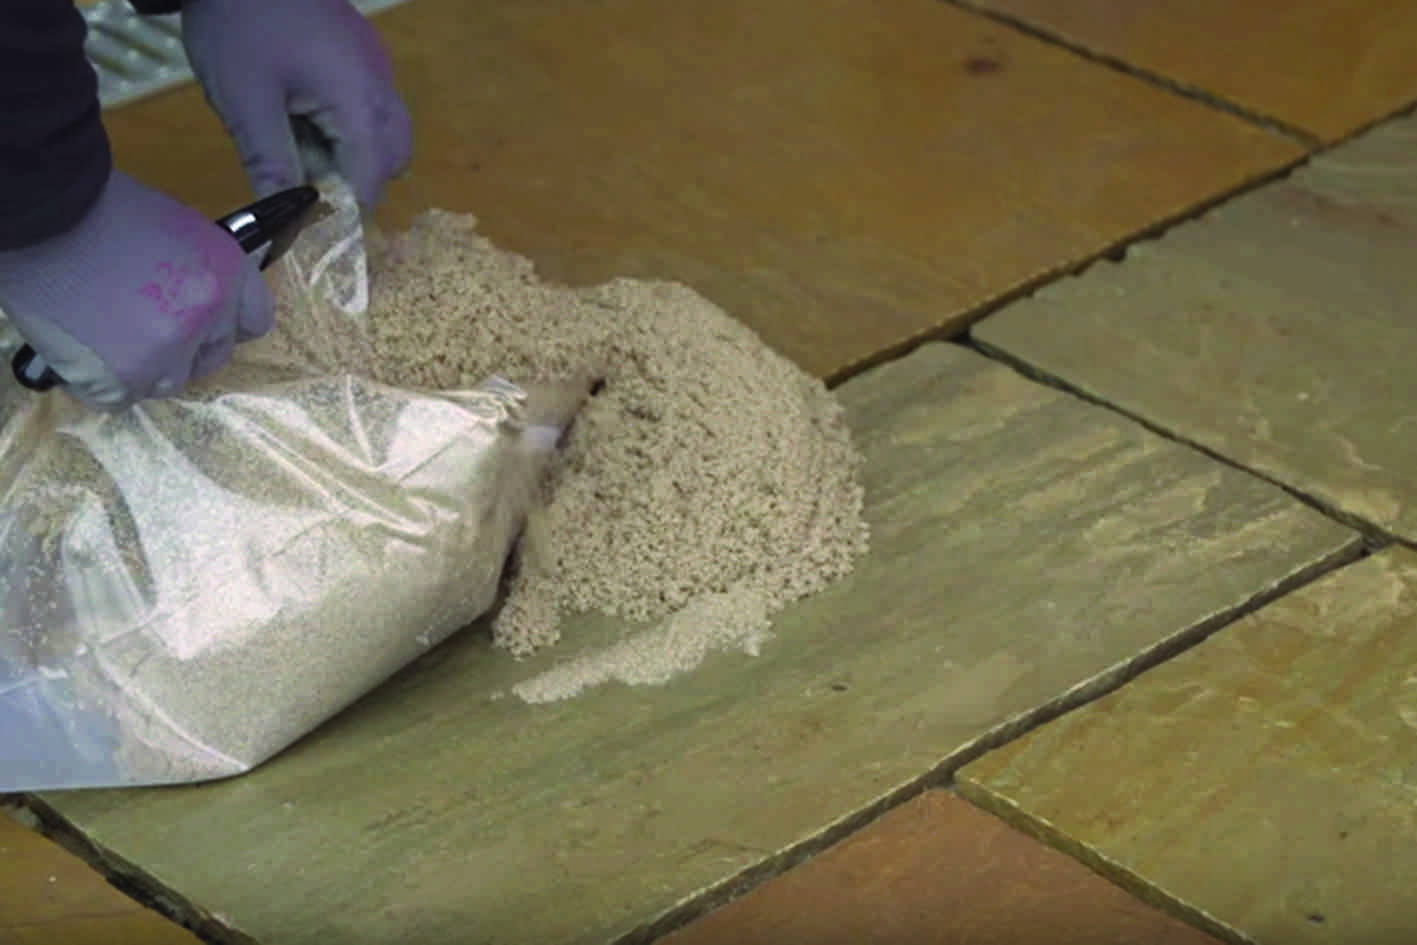
Step 2
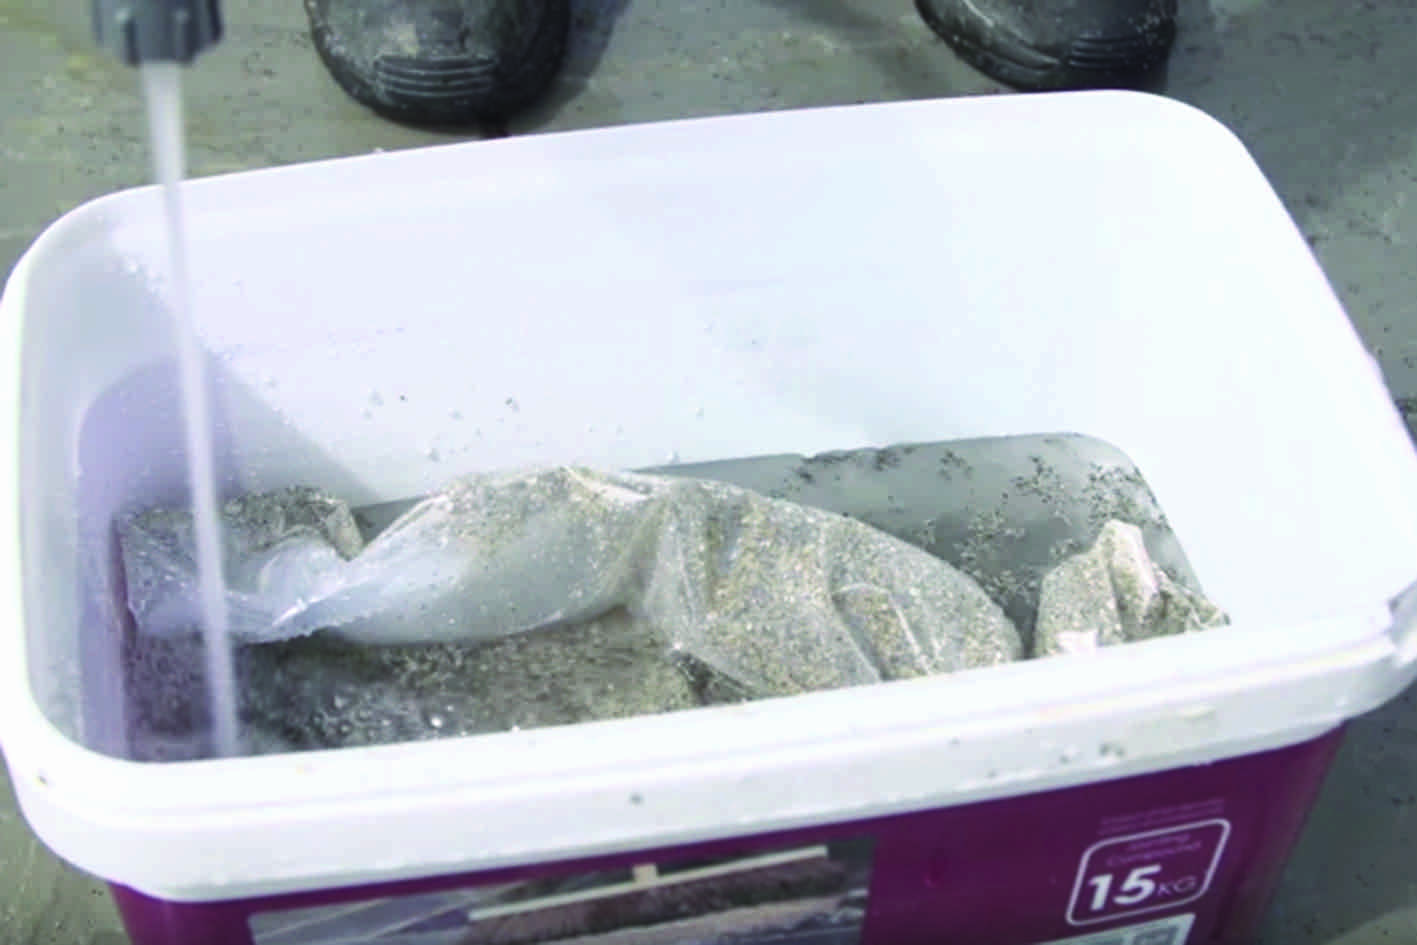
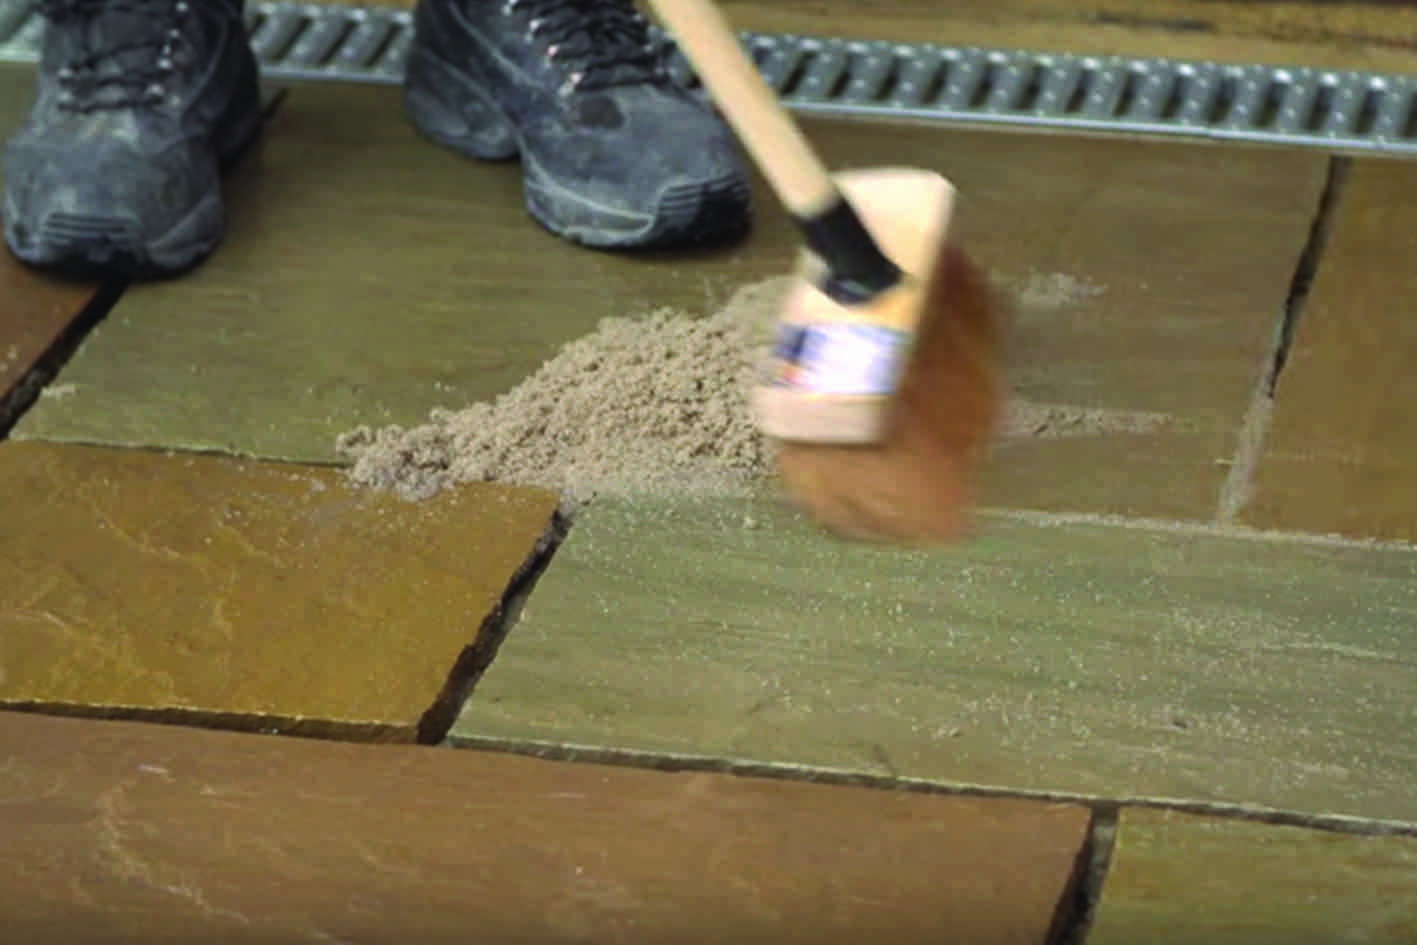
Pour Pavetuf Jointing Compound evenly across your newly laid paving. Top Tip: to help stop staining, throughly soak the compound in the tub before applying onto the paving. The wetter, the better!Step 3
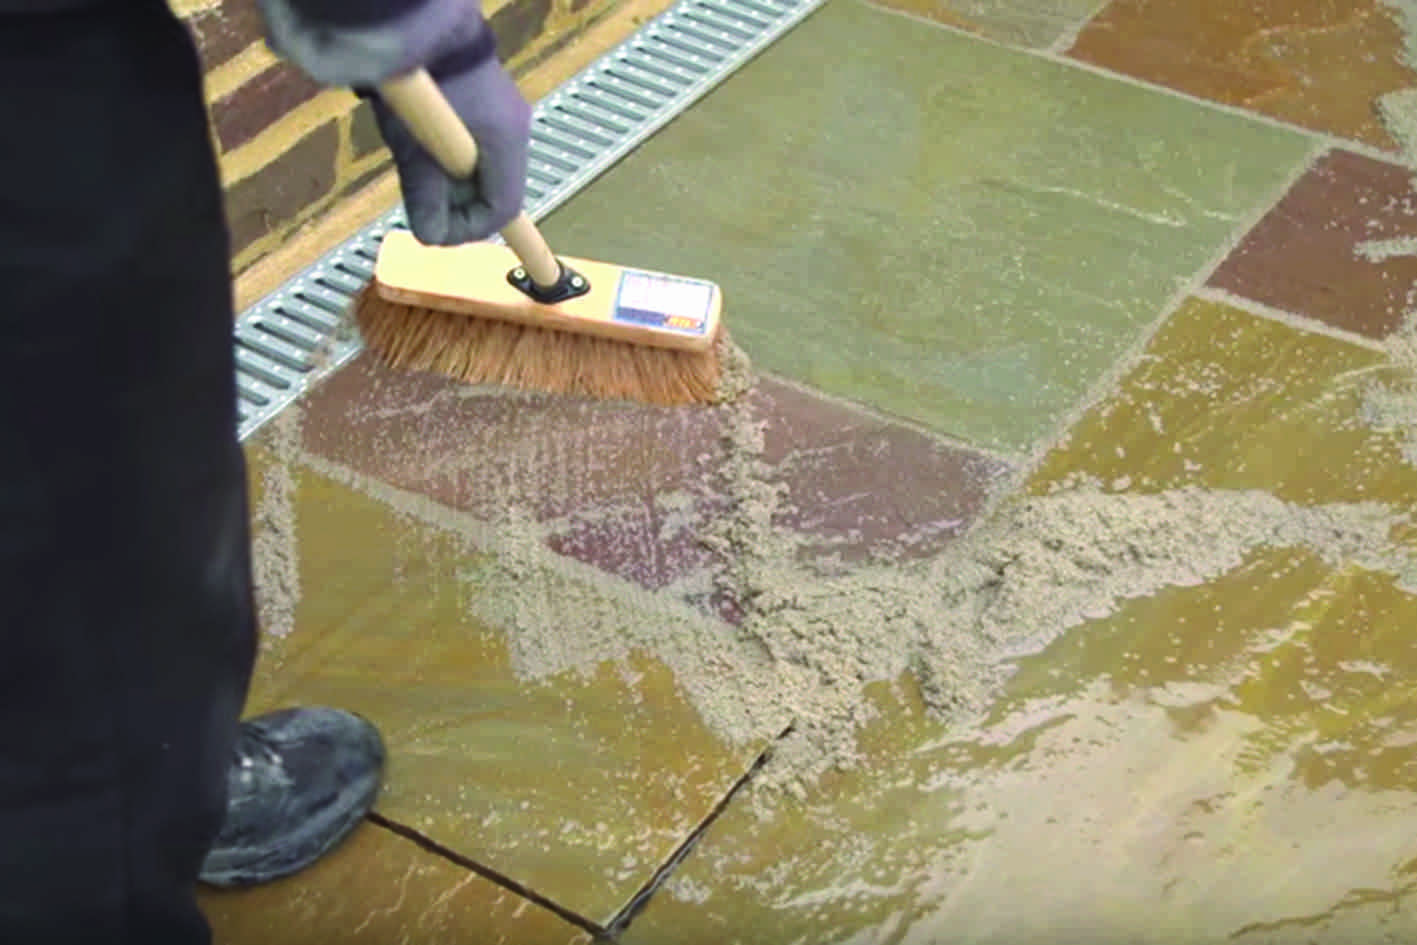
Using a stiff broom, brush the compound into the joints ensuring that they are completely filled.
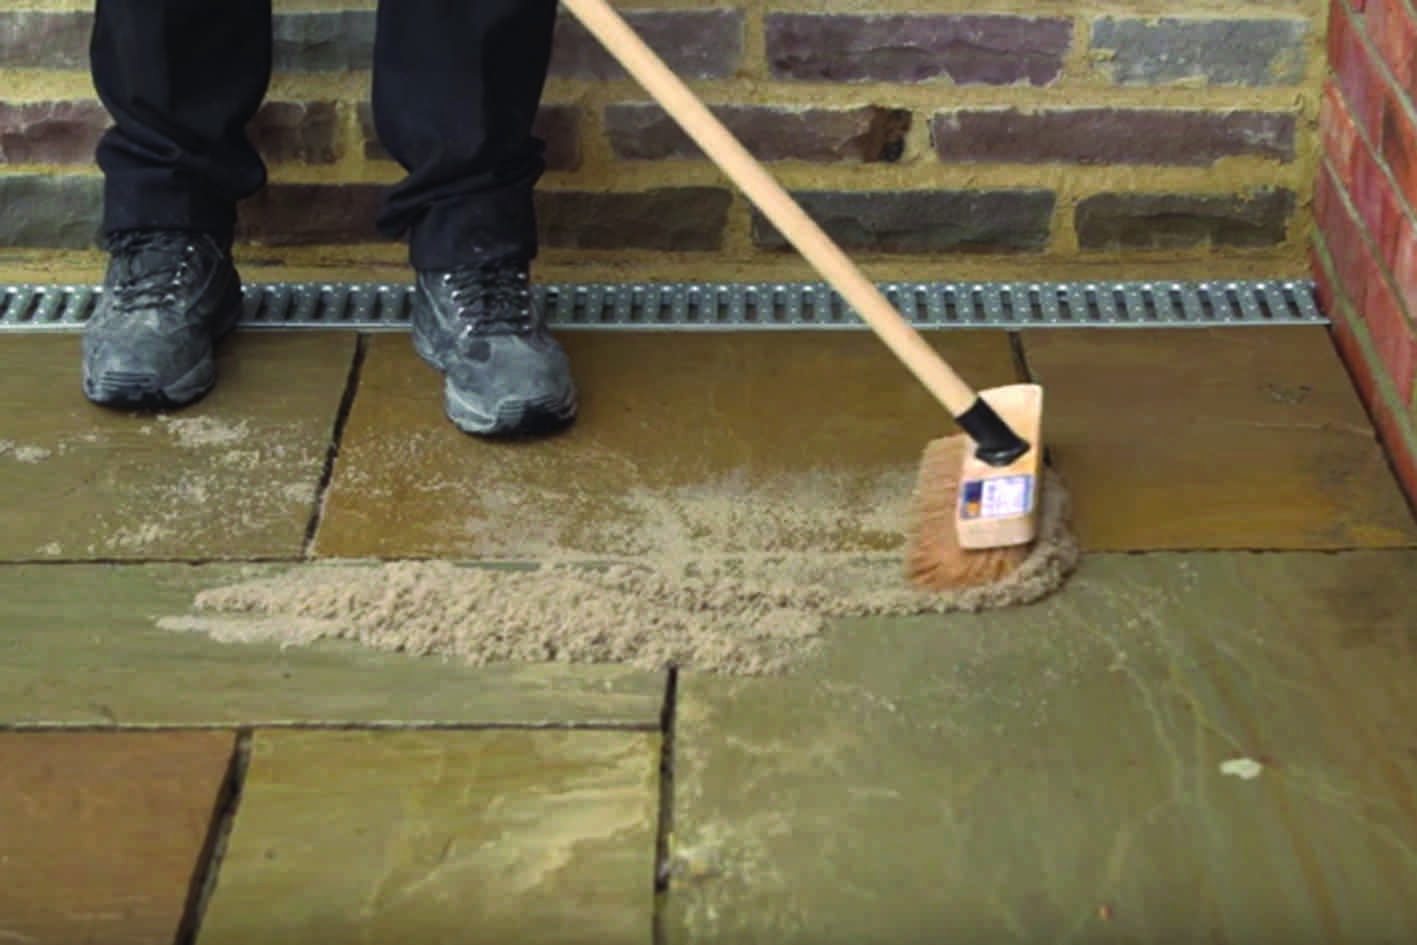
Step 4
Ensure that the surface of the paving and compound are kept wet during the entire application to ensure it does not set prematurely. Repeat step 3 until all joints have beeen filled.Step 5
Top up any joints that haven't been filled properly and wash off the excess compound from the surface of the paving using a low pressure hose to avoid forcing the compound from the joints.
Step 6
As the application of Pavetuf Jointing Compound requires water, it is necessary for the outdoor temperature to be 40 degrees F and above.
Step 7
Ensure any excess compound is not allowed to set in drainage ditches, gullies or similar areas where a blockage or impairment to function could occur.
Top Tips
- The more water added, the easier it is to move the compound and fill th ejoints
- Why not add water into the tub along with the dry compound before pouring the compound onto the paving
- If you are using the compound from a tub that has been opened previously and soaked in water to preserve it, when you come to use this with new tubs of jointing compound, you should mix the open tub with the new tub before application to avoid color batching.
Important: Please note that staining can occur on the paving, especially near the joints if it is not kept soaking wet throughout the application process and if any surplus jointing compound is not removed from the surface of the paving.
Prefer to type? Our great live chat service means we can offer you all the expert help you need without needing to call!